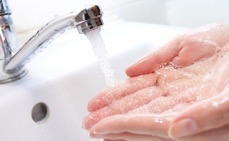
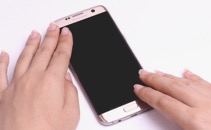
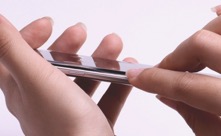
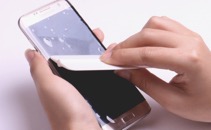
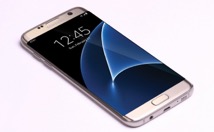
Wash you hand and choose a dust-free environment for installation.
The product uses wet-installation process. It needs 15minutes to install and 1-2 hours to completely dry out.
TIPs:
A clean desktop with a dark/black surface is preferred in order to spot dust and avoid bubbles.
Work on the installation before bedtime to allow it dry overnight for best effect
STEP-2:
Please check if you have all the screen protectors and accessories for the installation, they should all come with your liquid skin product.
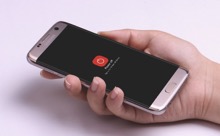
Turn off the electronics device before the wet-installation to prevent potential water-damage.
TIPs:
The kit should at least come with one squeegee, one bottle of magic spray, one cleaning cloth, one dust-absorber sticker
STEP-3:
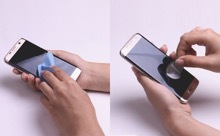
Thoroughly wipe the screen with provided cloth (wet wipe and then dry wipe) and remove residual, finger print and oils as much as you can
Utilize the the dust absorber (sticker) to remove any remaining dust and lint on the screen.
TIPs:
Tilt the screen in different angles to check and make sure it is completely dust/lint free, or you will get “BUBBLES”.
After cleaning, set your phone aside in a clean area. Without doing so, dust may fall onto it while you do the following steps.
STEP-4:
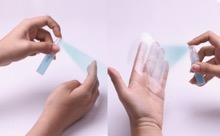
Shake the bottle and spray your fingers of both hands
Peel and discard the cover of the screen protector. Then spray both sides of the screen protector completely.
TIPs:
Discard only the plastic film with tab attach to it and spray the remaining piece.
Spray and soak the sticky side of the screen protector heavily. Spray the smooth side lightly.
STEP-5:
Quickly place the screen film over your phone screen
Move around the screen protector and center the screen protector to the screen and align all the cutouts with your device.
TIPs:
Magic spray eliminates the stickiness of the screen film, and the film should be freely movable now.
If it cannot be moved, please peel it off and spray more on the film. Retry until the screen film becomes movable.
STEP-6:
After align all the cutouts, visually check the edge alignment by press down at the curved edges and corners.
The film may not stick to the curved surface at the moment due to stickiness reduction.
TIPs:
The film edge should not exceed or touch the metal rim of the device.
Having a reasonable spacing between the protector and the rim on both sides offers the best result to prevent future peel-off.
STEP-7:
Use the squeegee to gently push the air bubbles and excessive liquid out.
Squeeze from center towards the edge, try be as gentle as possible and do not scratch, move or stretch the film.
TIPs:
Be exceptional gentle at thin/narrow part of the film around the cutouts. Stretching the thin area will lead to installation imperfection.
Liquid may drop on the working desktop, make sure to remove your valuable water-vulnerable belongings.
STEP-8 (Only for curved screen or back):
Wait 20-30 minutes, then start pressing down the skin onto the curved surface and corners from center to the edges.
Once the skin is well adhered, start using squeegee to push out remaining air bubbles and liquid gently. Do not push too hard or it may damage the liquid skin.
TIPs:
Test first by pressing down on small curved area. If the skin does not adhere, please wait slightly longer.
You may still see slightly visible tiny bubbles or water stains across the screen, this is completely normal because under the skin it is still wet.
STEP-9:
Rest and let the phone dry for at least 6 hours (overnight drying is recommended).
You can install the back side of the liquid skin using same process before resting 6 hours, and dry both sides together.
After dry-out period elapsed, you can try use squeegee press down at places where you see bubbles and drive the bubble towards the edges, it can be easily fixed now.
TIPs:
If bubbles still exist, you can try use squeegee to push out gently. Do not overwork or it will damage the liquid skin.
You can still use the phone while it is being dried, but make sure handle it with caution and do not peel or lift the skin at corners.
Now Enjoy your completely protected device!
** If you see major imperfections, skin exceeds application surface, misalignment, you can reinstall it.
** Gently peel the skin off without stretching it, and wash it with dish soap and rinse it clean. Repeat step 1-7.